The Best Potting Mix for Tomatoes! (Top 5 Winners)
In this write-up, I will be discussing the best potting mix for tomatoes! I will also break down the importance of potting mix for tomatoes and the best soil mix for tomatoes today! I will elaborate on how it differs from gardening soils and the elements and ingredients within the potting mix that make it a super soil recipe for tomatoes to thrive in. All so that you can make a careful and educated selection, catering to all your gardening needs.
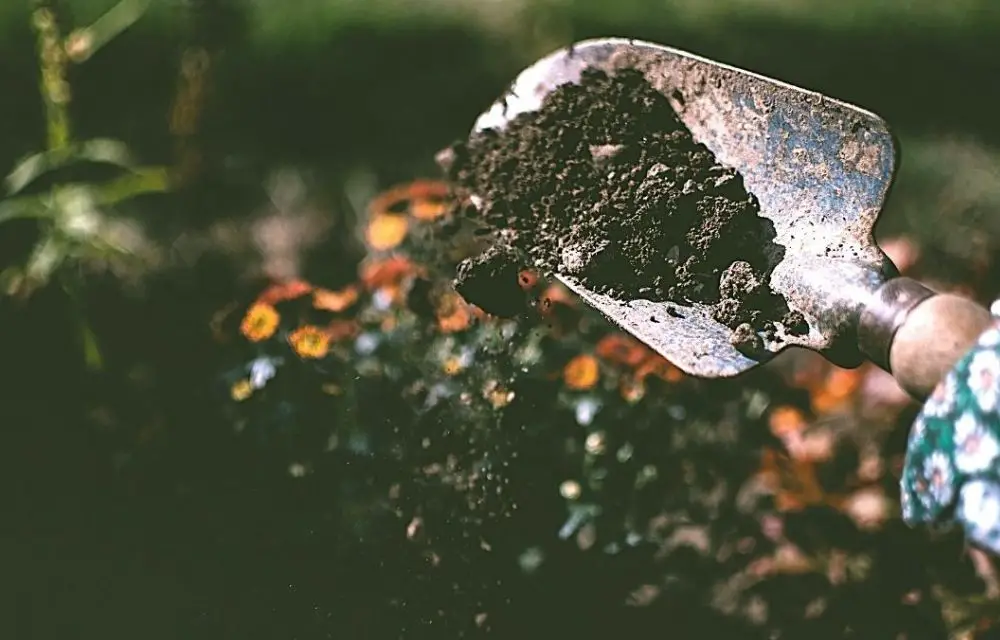
When gardening, the base of the garden starts with the potting mix that we are using to grow our plants. A seasoned gardener would know that the quality of the potting mix used to grow your crops contributes greatly to a tremendous difference in the quantity and quality of your yield.
A high-quality potting mix would usually contain a concoction of proper, well-balanced nutrients. This will be ideal in creating a healthy environment where healthier fruits and vegetables are harvested.
Therefore, prior to beginning to grow any vegetables or plants in your garden, one should remember to decide where to place your vegetable bed as it is an important first step. The next step is to then decide what soil to use for it.
Taking the time to choose the best potting soil for tomatoes will pay off in greater fruition when the time comes to harvest your yield. This means that if the soil in your garden is unhealthy or untested it is probably the best idea to take the time to get the soil checked first before planting and growing the vegetables that you intend to consume or sell for consumption.
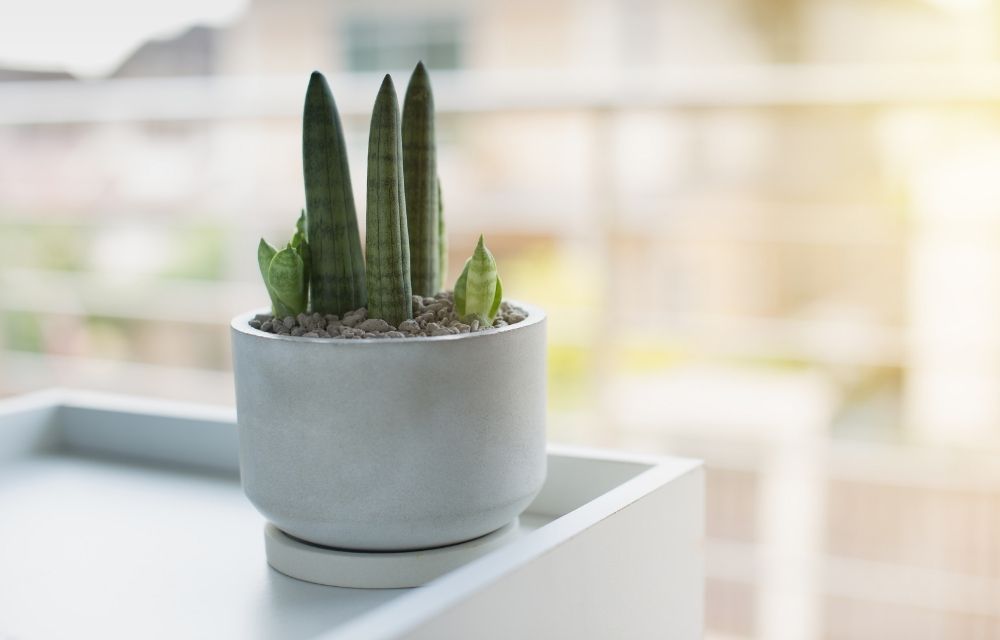
Oftentimes, gardeners will create a vegetable bed above the ground so that the soil which is being used is controlled. This is also done to ensure that there is no chance of letting plants grow in low-quality soil. For cases such as this one, which is the best soil for tomatoes in raised beds then?
Alright, enough with the boring details, here’s a fun fact instead: Did you know that before the 17th century, most of the world considered tomatoes to be partly poisonous and were only used as an ornamental plant back then? This was because tomatoes are closely related to the family of nightshade and tobacco.
However, it was later discovered that for most of it, it was the green parts of the tomato that were mildly poisonous. Fast forward to today and for what most of us can remember the tomato, is now one of the many tasty ingredients available to us to use in a variety of dishes, heck! Even by itself.
Tomatoes are either sourced independently or purchased at markets and supermarkets fresh, canned, stewed, or sun-dried. The tomato is also commonly referred to by its scientific name Solanum Lycopersicum. Lycopersicon also means wolf peach. Tomatoes are highly sought for their nutritional benefits as they are one of the richest sources of lycopene, an element important for healthy prostate glands in men.
There are over 10000 varieties of tomatoes that come in a variety of shapes, colors, and sizes. Yes. You heard me right. You’ve seen red, green, and yellow tomatoes but pink, purple, and even black ones exist as well.
So without further ado, let us get into a list that I have compiled for you on the best commercial potting mix for tomatoes, and also, as a parting gift I’ve included a rather well-crafted tomato potting mix recipe especially for you today!
What Is a Potting Mix?
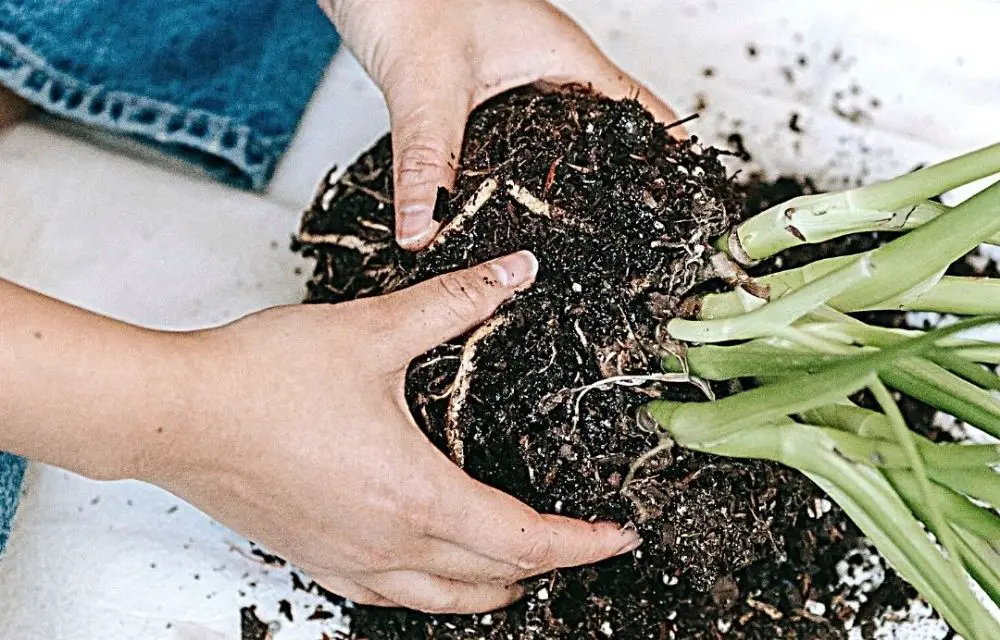
Potting mix is sometimes referred to as potting soil. Potting soil is made up of multiple components collectively working together to provide a habitat for plants to thrive in. The typical gardening soil often gets confused as the potting mix can get too dense leading to the suffocation of roots and other issues.
A high-quality potting mix will resolve these issues and allow for better growth and development for your plants. These soils would usually appear more consistent and fluffy. Apart from just looking at the part, potting soil usually comes with a stronger ability to retain moisture. Keep reading to find out what makes the best potting mix for tomatoes right now.
Types of Potting Mix
All-purpose potting soil
Firstly, there’s the all-purpose potting soil. These are usually designed for general use. Usually the best soil you could go for, for indoor plants and outdoor plants. Houseplants to herbs and even edibles, all-purpose potting soil does the job.
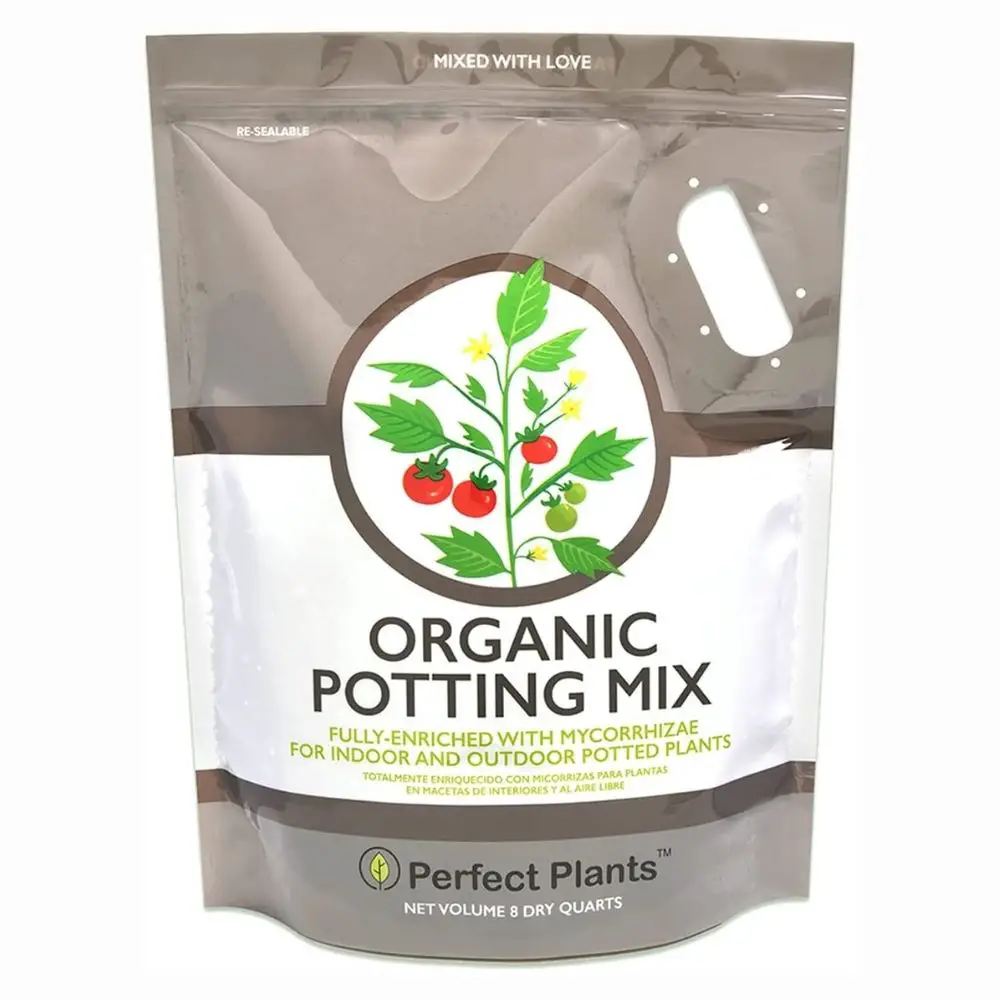
Organic Potting Soil
Much like the name, organic potting soil is made up of natural elements such as plants, worm castings, food compost, manure, and the remains of decayed organisms which collectively contribute to the fertility of the soil.
Seed Starting Mix
A form of potting soil with smooth and fine consistency, thus providing the optimum conditions necessary for seeds to grow. It contains little to no nutrients. Hence it motivates the roots of the plant to branch out in search of them. This promotes better growth and development.
Orchid Potting Soil
Some plants thrive best on potting soil formulated to their species. For example, the orchid potting soil provides the orchids with great air circulation and drainage systems. This not only then prevents the roots from retaining excess moisture, it also helps the orchids grow.
Cacti and Citrus Potting Soil
The cactus plant and citrus plants are sensitive plants. They thrive best in potting soils that have good drainage. To ensure proper growth for your cacti, opt for this potting soil instead.
Moisture Control Potting Soil
This potting soil consists of moisture-controlling pellets, which help in regulating the moisture in the soil, preventing it from drying out completely.
Ingredients of Potting Mix
Perlite
Ever seen those tiny white pearly particles in potting soil? Well, that’s Perlite, and believe it or not those are literally heated volcanic glass. Perlite is incorporated into potting soils as it also promotes better water drainage and makes sure that the soil does not get too compact.
Pine Bark
By itself, the Pine Bark does not have much to offer. However, when paired together with Peat Moss, it created more air spaces and hence promotes better water and fertilizer retention.
Limestone
Potting soil can sometimes be too acidic for plants to thrive in. For these purposes, limestones are added into the mix to neutralize the acidity and bring it about closer to the neutral pH value of the soil.
Sand
Be careful to go for builder’s sand or coarse sand as it works best for potting mixes. Good quality sand would ensure that it adds air pockets to a potting mix. Because sand is a heavier soil, it can be used to plant huge or heavy plants that might be prone to toppling over.
Coir Fiber
The remains and by-products of the coconut fruit and the coconut industry itself, the Coir Fiber also play a similar role to the Peat Moss. One downside to Coir Fibers is that it is relatively more expensive. However, a plus point would be that it is more environmentally friendly.
Vermiculite
Much to how it sounds like Perlite, the Vermiculite is also a product of volcanic material. It is used in potting soil as it also helps in retaining moisture by creating more air pockets in the soil. This in turn improves aeration within the soil. One of the things that set Vermiculite apart from Perlite is that it not only retains water but helps in retaining fertilizers to stick around and not just easily washed away during watering.
Peat Moss
Perhaps the most used element of potting soils, the Peat Moss is basically the remains of decayed sphagnum moss for over an extensive period of thousands of years. The moss is harvested from the peatlands. This is both ideals for retaining moisture for plants and also to provide a better drainage system.
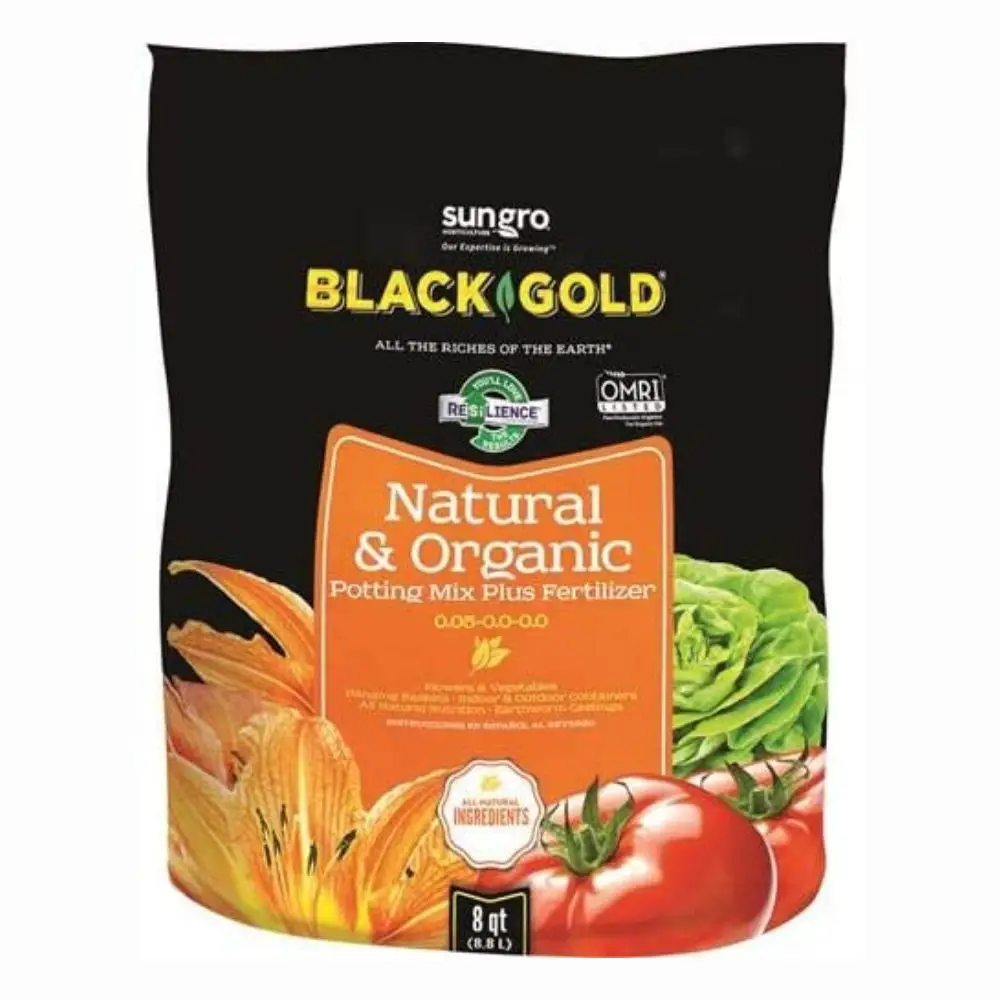
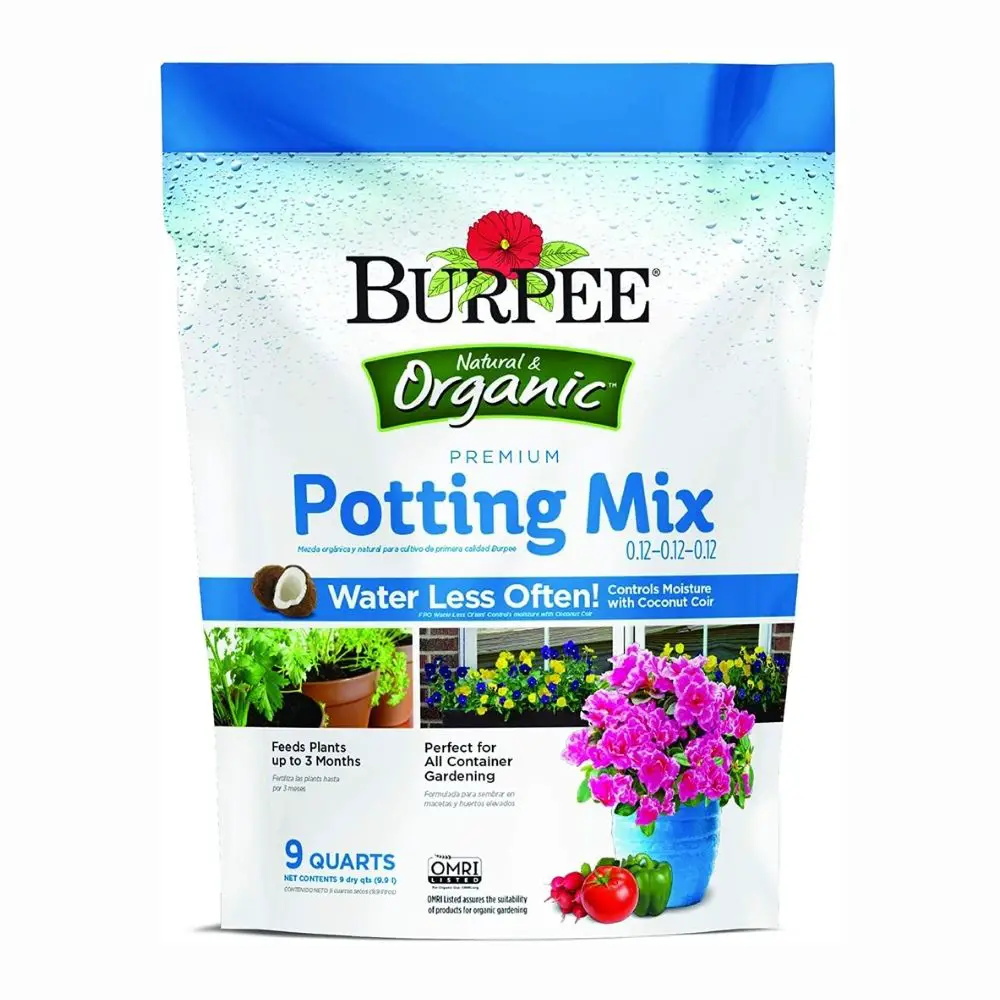
Best Potting Mix for Tomatoes
Tomato Potting Mix Recipe
As you work on the formulation of your priced recipe for your tomato potting mix, remember that working from a recipe works best. Once you start blending potting mixes as a habit, you will get more experienced in achieving what you may need to attain your very own best potting soil for tomatoes.
Also, remember to test out small batches of your own blends before trying them out on a larger scale to avoid wastage in case something went wrong. This will also allow you to learn to improve the next time.
For now, use this recipe as a guide and improvise if you feel the need to, on your next tryout.
For the ingredients, you will need a mixture of inorganic substances that help to drain water efficiently and allow for proper aeration and organic ingredients to help retain water and nourish the plant. Some examples of inorganic ingredients are sphagnum peat moss, perlite, coarse sand, and vermiculite. Compost, garden loam, commercial potting mixes, and humus are examples of organic ingredients.
With that said, for our recipe today, this is what you will need:
The Recipe
- 1 part organic ingredient (for water retention and nourishing purposes)
- 1 part inorganic ingredient (for bulking purposes)
- 1 part inorganic ingredient (for better drainage)
- 1 container
- Water
- Fertilizer (optional)
Steps to Make your Potting Mix
- First, gather all ingredients
- Add 2 parts of pre-soaked sphagnum peat moss to 1 part of warm water (2:1 ratio)
- Let the water absorb
- Add inorganic ingredients to the mix
- Add organic ingredients to the mix
- Add fertilizer accordingly
- Fill your container with your potting mix
Best Potting Mix for Tomatoes Frequently Asked Questions
Is potting soil good for tomatoes?
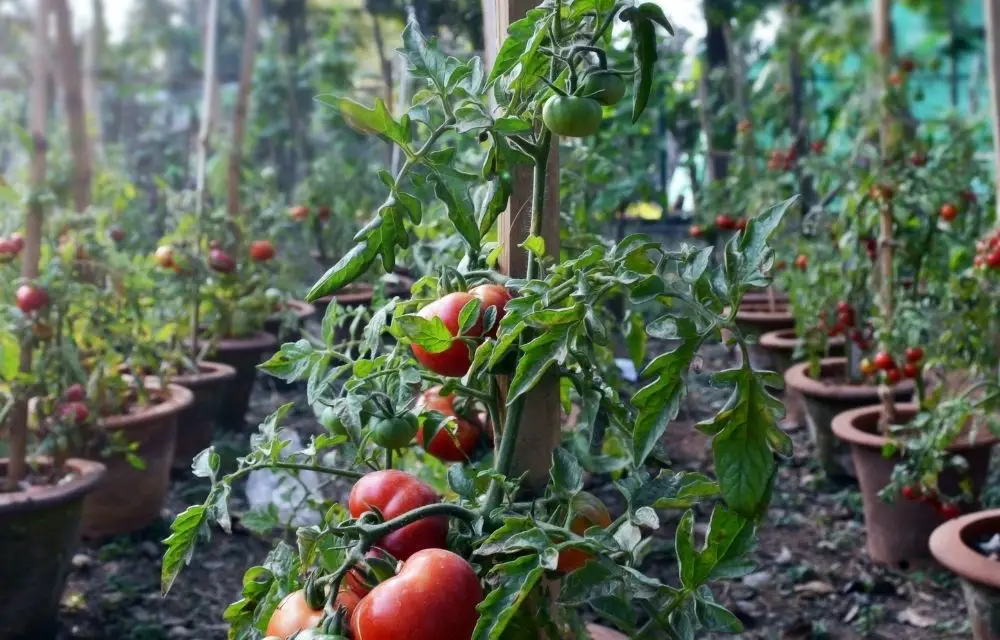
Unlike several types of plants which would require you to invest in specific kinds of soils, tomatoes aren’t picky and they do thrive in typical organic composts or animal manures. Be sure to keep the soil up to about 5 inches tall in your pot before planting your tomato plant. With that said, potting soil catered to a tomato plant’s needs would definitely have more benefits to the plants’ growth and development.
How do you make soil mix for tomatoes?
First, gather all ingredients and add 2 parts of pre-soaked sphagnum peat moss to 1 part of warm water (2:1 ratio). Let the water absorb. First, add inorganic ingredients to the mix and then organic ingredients. Add fertilizer accordingly. Then, fill your container with the freshly-made potting mix.
Are coffee grounds good for tomato plants?
Studies have shown that coffee grounds can be used to repel slugs and snails as it contributes nitrogen to the plant. Therefore, it is good! However, do not use too much as they may alter the pH value of the soil. Tomatoes prefer slightly acidic soils.
Do tomatoes grow better in pots or in the ground?
To answer this question, certain tomato breeds do better in pots while some do better in the ground. Tomatoes perform well in loose soil that drains well. Indeterminate tomato breeds that grow larger would be better off in the ground as they have a more extensive root system.
What should I add to my soil before planting tomatoes?
Depending on your plant, you may opt to add compost and composted manure to the soil. Compost helps in providing the tomato plant with basic nutrients and improving the structure of the soil. Composted manure helps in the long term as it slow-release nutrients all season long.
Can you grow tomatoes in 5 gallon buckets?
Some tomato plants can do well in 5-gallon buckets. Aim for high-quality potting mixes and a good drainage system and your plant should do well.
Conclusion
I am sure that by now, you will be better equipped with all that you need to know about potting mixes and how it can benefit you in your very own garden. Be mindful to check for the ingredients of the potting soil that you are about to purchase to know what would suit your plants or vegetables. Keep this article close when you’re looking for the best potting mix for tomatoes!
To summarise, potting soil should be less dense compared to gardening soil, to promote better aeration within the soil, and should consist of the necessary components for optimum nutrients and better water drainage.
If you enjoyed this article, you should definitely take a look at this related article as well:


 One of the most important things to remember when caring for alocasia regal shield plants is how often you water them. It should be watered about once a week, forgetting this will result in browning and drying out of the leaves as alocasia needs moist soil in order to thrive. The potting mixture alocasia regal shield plants are grown in also needs to be moist, but not sopping wet.
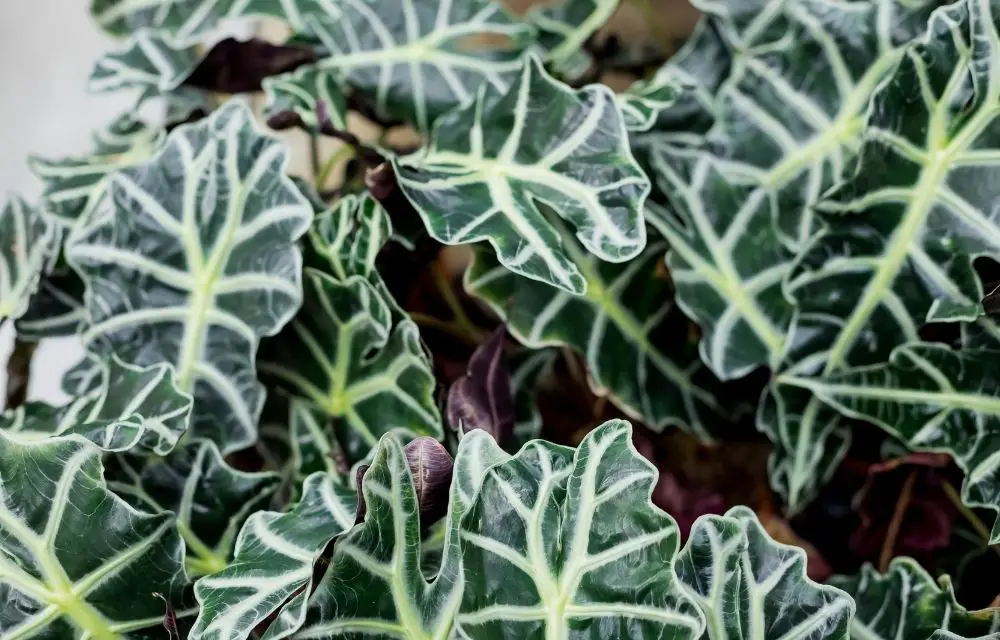
 The alocasia polly plant is most often grown as a houseplant. As such, it doesn’t need much light to thrive. A south-facing window will provide enough natural sunlight for the alocasia polly plant; you might even want to use grow lights if there isn’t an adequate amount of daylight in your home.
 Alocasia plants are unique in that they can be grown to grow upwards as well as outwards. You can cut alocasia leaves off at any time, and the plant will continue growing from there. For this reason alocasias are rarely pruned except for aesthetic reasons or if a branch has become damaged.
 Alocasia plant is a type of tropical, evergreen perennial that’s often grown indoors. Types of alocasia plants are the alocasia polly and alocasia amazonica.
 Elatior begonia plants are from the Elaeagnus family, which prefers a cool environment with temperatures ranging from 45 to 65 degrees Fahrenheit. If your elatior plant is outside and exposed to extremely cold weather (-20°F), it will need protection such as being brought inside or under cover for several days until warmer weather returns.
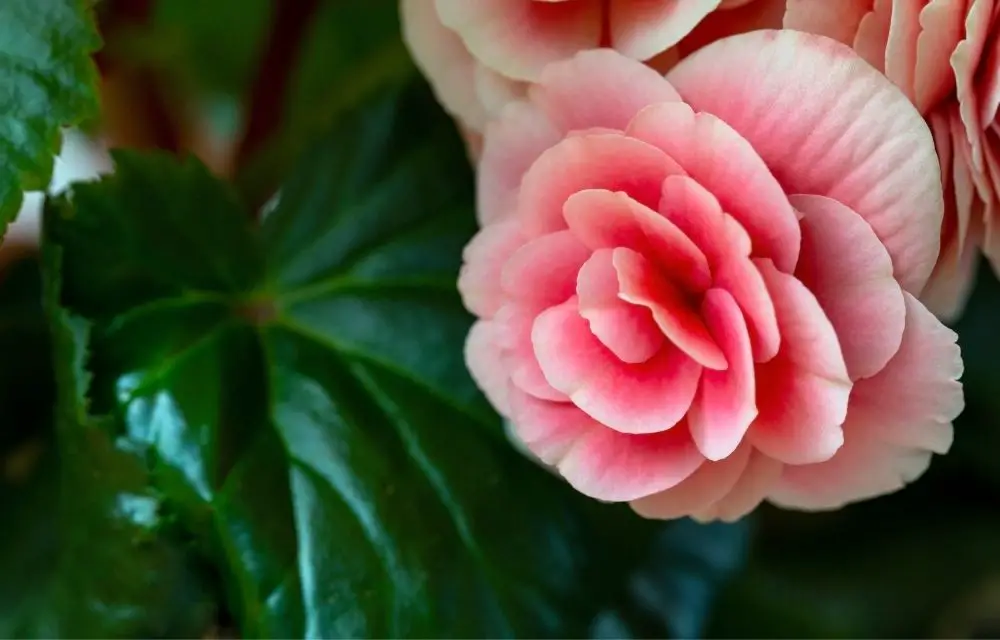
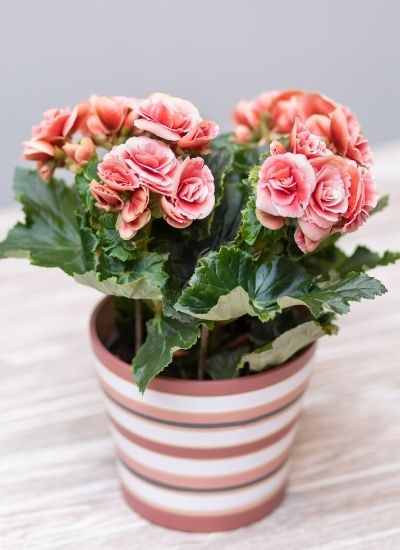 The care of begonia elatior plant is relatively low maintenance. With proper care, elatior begonia plants can last for many years in the home. The following are guidelines to caring for elatior begonia:
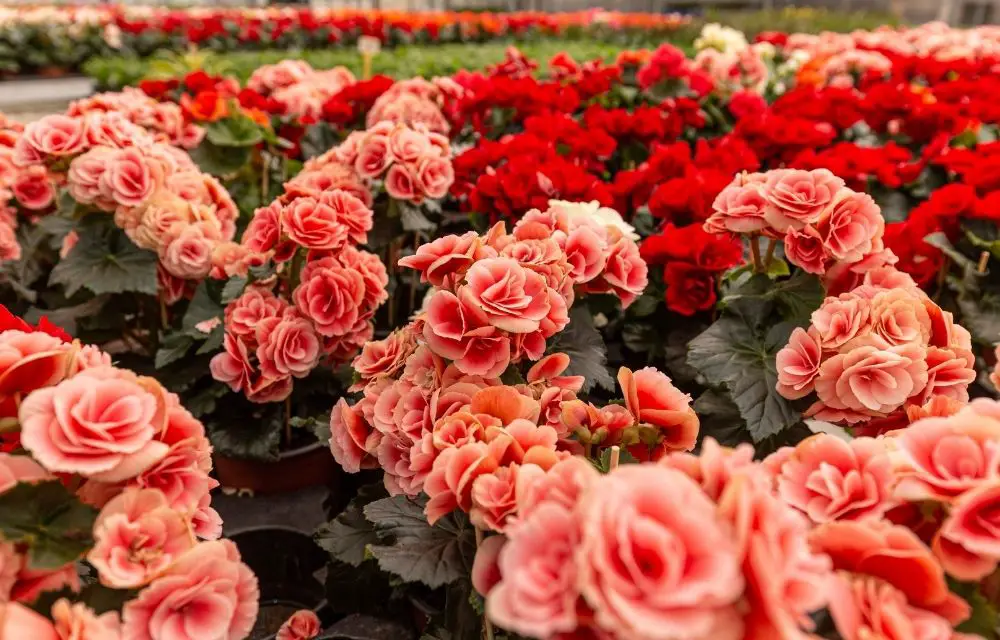
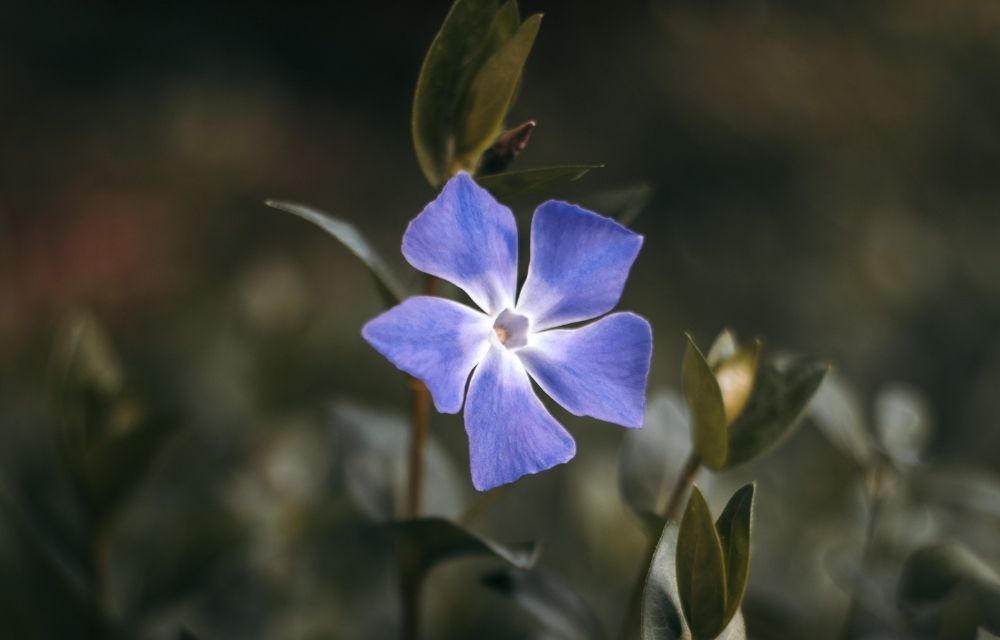
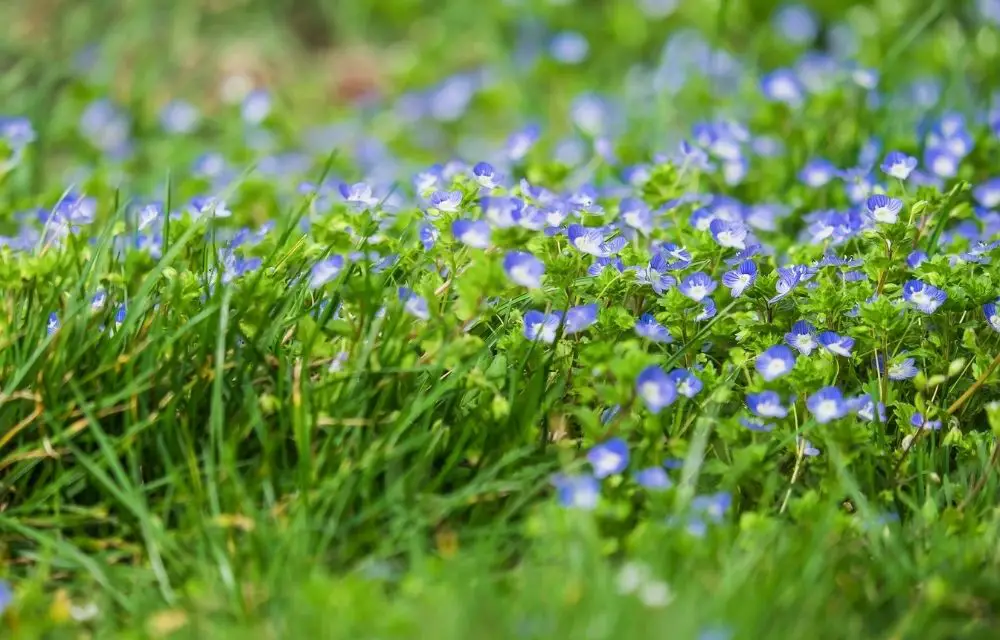 When purple flower weed plants are planted from a seed, pruning purple flowers weeds is not necessary because they develop in the ground. With purple stemless purple flower weed plant varieties that grow upright, thinning out the long stems will help them to stay stronger and produce more blooms. The process of trimming back should only be done when purple flowers weed plants are young, so that the plant can grow strong. For purple flower weed varieties with a rosette of leaves in the center (referred to as purple flowering weed), pruning purple flowers weeds is necessary because these have no stems and must be supported by other means.
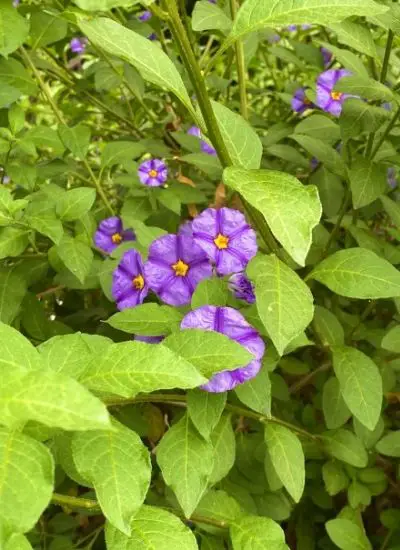 A purple flower weed plant is a beautiful addition to any garden. These lovely purple flowers are great for adding a pop of bright color in the spring and summer months. Read on if you want tips on how to care for this colorful plant!
 Purple flower weeds can be difficult to kill and sometimes they come back in a year or two. The purple flowers weed plant produces dense mats of purple-colored foliage that crowd out native plants around it. You can try to dig up purple flowers weeds, but purple flower weed roots are very tough and may break off into pieces that root themselves in other spots.
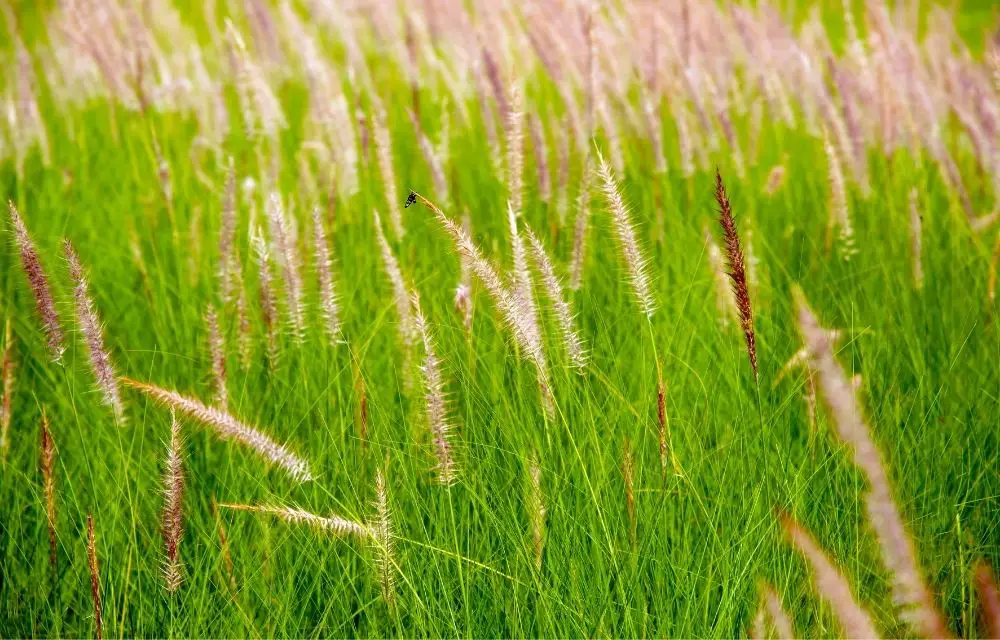
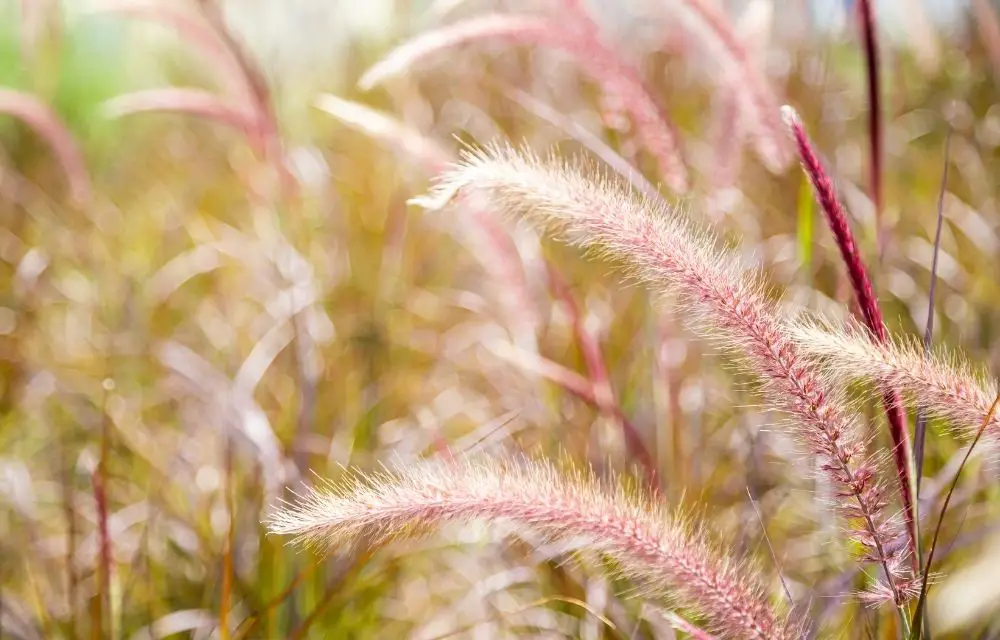
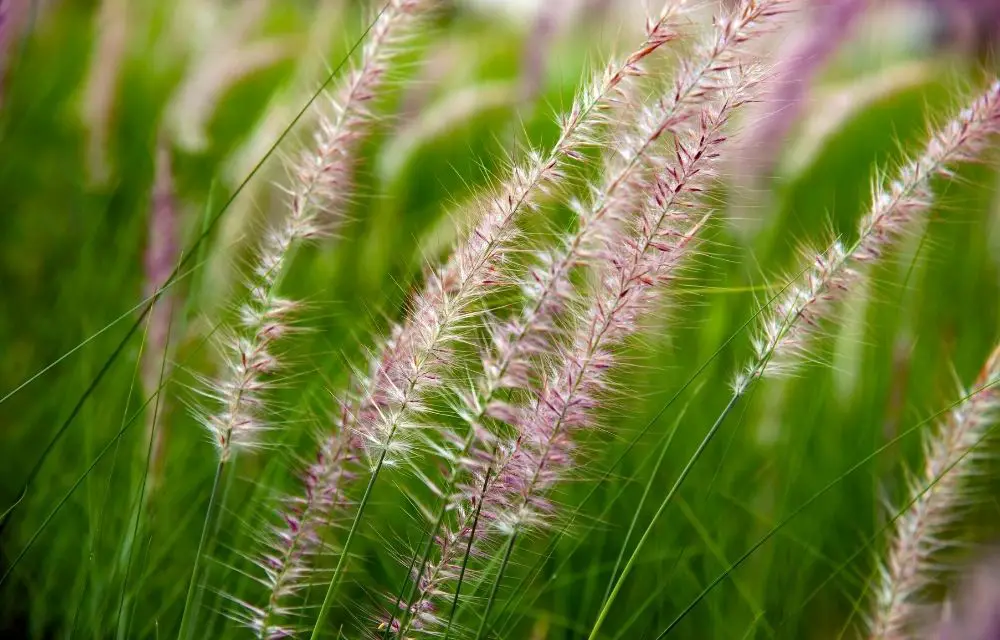
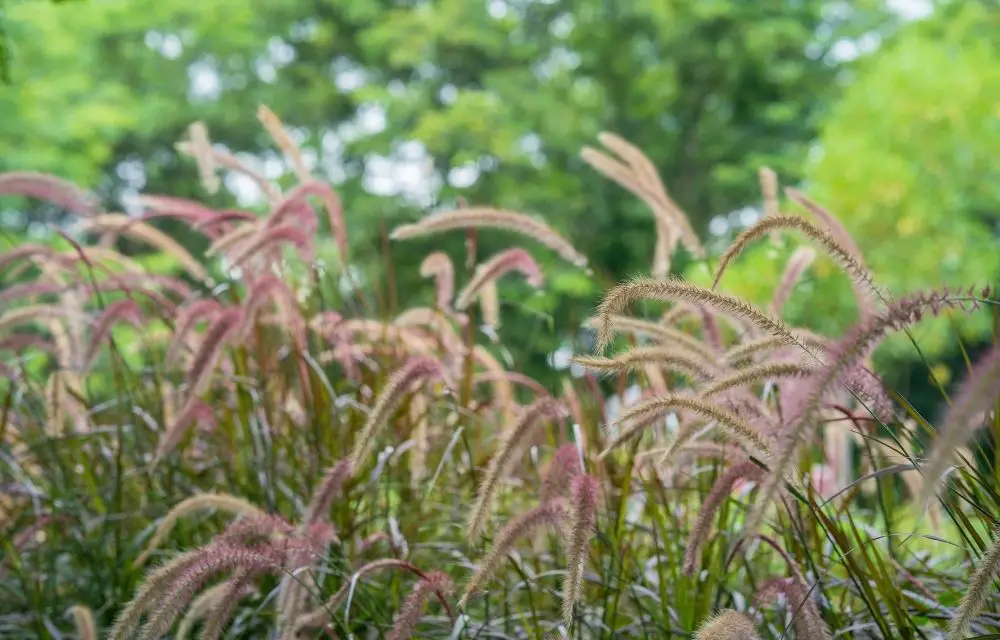 Purple Fountain Grass plants do best in temperatures between 65-85 degrees Fahrenheit.